
How to Connect Domain to Hosting (Namecheap to cPanel)
Connecting your domain purchased from Namecheap to a web hosting service with cPanel is an essential step in launching your website. Whether you’re building a blog, portfolio, or e-commerce store, linking your domain and hosting ensures your website is accessible to users across the internet.
This guide provides a clear, step-by-step process for connecting your Namecheap domain to a hosting provider that uses cPanel. It’s beginner-friendly, optimized for SEO, and tailored to help you get online quickly and securely.
Why Connecting Your Domain to Hosting is Important
Before we dive into the steps, let’s understand the importance of connecting your domain to hosting:
-
Domain name: This is your website’s address (e.g., yourwebsite.com).
-
Web hosting: This is where your website files are stored and served to visitors.
Without connecting your domain to your hosting server, users won’t be able to reach your website, even if your site is fully developed.
Step-by-Step Guide to Connect Namecheap Domain to cPanel Hosting
Here’s how to connect your domain from Namecheap to any hosting provider using cPanel, such as Bluehost, Hostinger, or SiteGround.
Step 1: Log in to Your Namecheap Account
-
Click on “Sign In” at the top-right corner.
-
Enter your credentials to access your dashboard.
Step 2: Find Your Domain Name
-
Once logged in, go to Dashboard > Domain List.
-
Find the domain you want to connect.
-
Click the “Manage” button next to the domain name.
Step 3: Change Nameservers to Your Hosting Provider
This is the most critical step in the process.
-
Under the Domain tab, scroll down to Nameservers.
-
Change the selection from Namecheap BasicDNS to Custom DNS.
-
Enter the nameservers provided by your hosting company. These typically look like:
-
Click the green checkmark or “Save” button to apply changes.
Tip: You can find your nameservers in your hosting welcome email or from the cPanel dashboard.
Note: DNS propagation may take anywhere between 30 minutes to 48 hours to update worldwide.
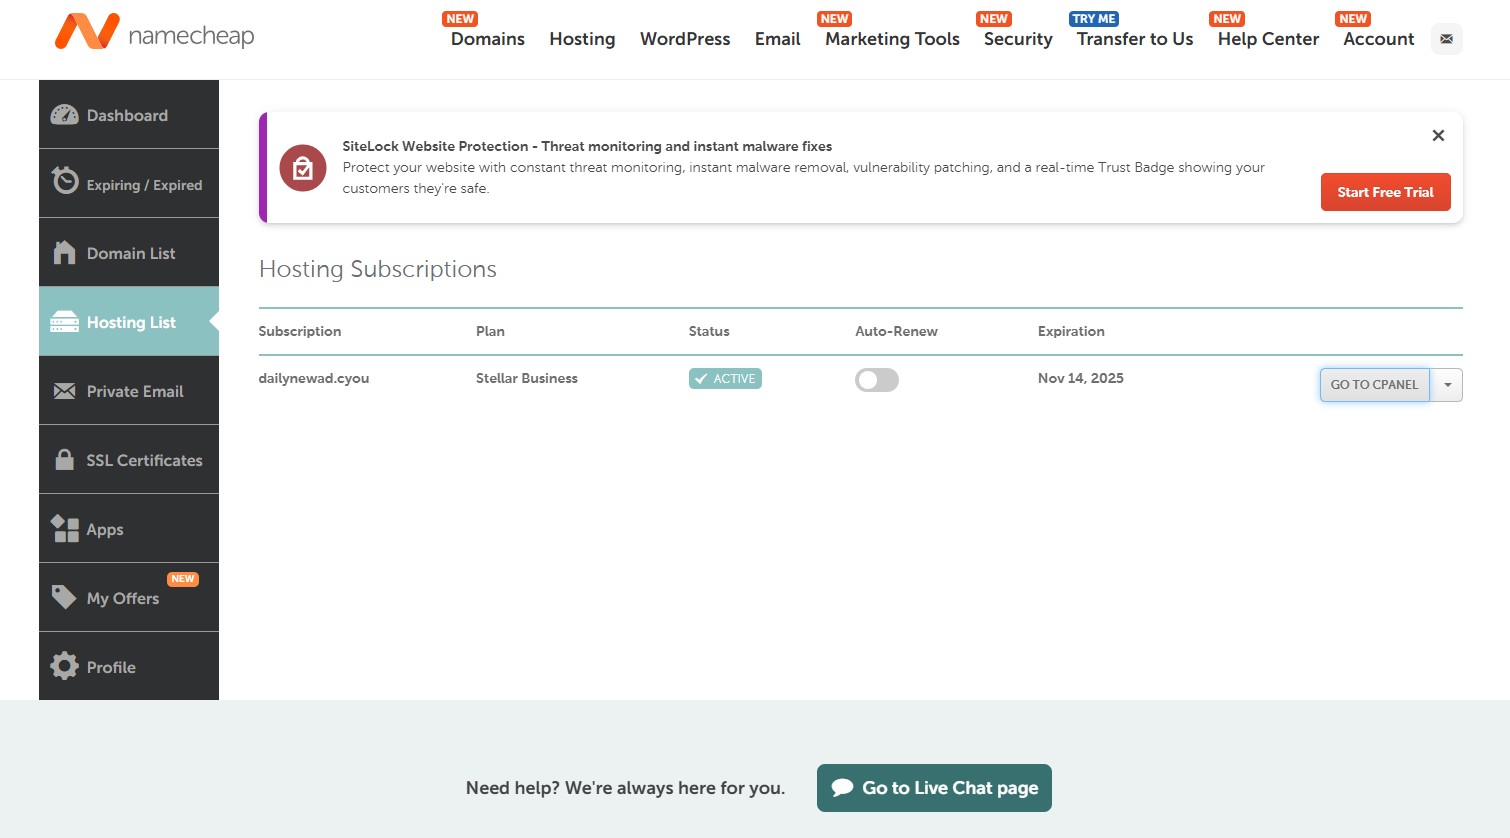
Step 4: Log in to Your Hosting Account with cPanel
Once your domain is pointing to your hosting server, you can access cPanel to set up your website:
-
Log in to your hosting provider’s dashboard.
-
Click on the cPanel or Manage Site option.
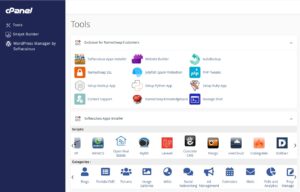
-
You’ll now enter the cPanel interface, where you can manage files, emails, databases, SSL, and more.
Step 5: Add the Domain in cPanel (If Required)
Some hosting providers require you to manually add the domain, especially for addon domains. To do this:
-
In cPanel, go to Domains > Addon Domains.
-
Enter your domain name (without
https://orwww). -
Choose a document root (usually created automatically).
-
Click Add Domain.
Now, your domain is officially connected to your hosting account.
Step 6: Upload or Install Your Website
Once your domain is pointing correctly and added to cPanel:
-
You can use File Manager or FTP to upload your website files.
-
Or, install WordPress using cPanel’s Softaculous App Installer.
This makes your website live and accessible via your Namecheap domain.
Troubleshooting Common Issues
-
Website not loading? DNS propagation can take time. Wait a few hours and clear your browser cache.
-
Incorrect nameservers? Double-check the spelling and order.
-
No hosting plan yet? Make sure your hosting is active and supports cPanel.
SEO Benefits of a Proper Domain-Hosting Connection
Connecting your domain correctly boosts your site’s:
-
Credibility (professional domain vs. free subdomains)
-
Loading Speed (good hosting improves user experience)
-
Indexing (search engines find and rank your content faster)
Always make sure your domain and hosting work smoothly together to maximize your SEO performance.
Final Thoughts
Linking your Namecheap domain to a cPanel hosting account is easier than it sounds. With just a few changes to your nameservers and settings in cPanel, you’ll have a fully connected website ready to go live. This process is essential whether you’re launching a blog, online store, or business website.
By following these steps, you ensure a seamless domain-to-hosting connection that improves user experience, SEO, and website performance.
For more digital and website setup tutorials, visit:
👉 https://digitalnew.it.com